We know when you think jam, you mind doesn't automatically jump to bacon. Well, it should. Our quest to make bacon jam started with an amazing charcuterie plate we had at a local restaurant that featured bacon jam. Of course we had to find a recipe, so Zack scoured the internet until he found this one. This savory jam went perfect on crusty bread at our holiday parties last year. Or, if you want to deliver edible treats as presents, this is the perfect gift for your foodie friends.
This one is going to be a long one, so get comfortable. We're going to be here a while.
Here's what you need:
3 lbs bacon
3 large onions, thinly sliced
10 cloves garlic, minced
9 Tbsp brown sugar
3 cups coffee, brewed
3/4 cup apple cider vinegar
3/4 cup maple syrup
fresh cracked black pepper
3/4 tsp smoked paprika
3 Tbsp red wine vinegar
Special Equipment:
Pressure Cooker
6 1/2 pint canning jars
Here's what you do:
Cook the bacon until it just gets crispy. You'll need to do this in batches. Lots of batches. Drain the excess bacon fat off in between batches.
When the bacon is finally all finished, slice it into 1/2" pieces. Set that aside for now.
Reserve a few tablespoons of the bacon fat and add to a large heavy bottom pot.
Add the onion and garlic over medium high heat. Toss to coat everything in the bacon fat.
Cook for 10-12 minutes until the onions become soft and translucent.
Add the chopped bacon to the pot.
Next add the brown sugar.
Next comes the apple cider vinegar.
Maple syrup joins the party next.
And, then add the coffee.
Bring that whole mixture to a boil, and then reduce to a simmer.
Let that simmer for 3 to 4 hours, stirring occasionally. Your mixture will look like this when it's ready to move on. Beautiful, isn't it?
We put the jam in the fridge over night to let the fat come to the top. The picture above is actually after we pulled it from the refrigerator. Scoop the fat off the top and discard.
Transfer the mixture to the blender or food processor and pulse to chop the large chunks of bacon and onion up to a finer consistency.
Return to the pot and place on the stove over low heat. Add the pepper to taste and red wine vinegar.
Let that cook for another 45 minutes or so until all of the red wine vinegar has evaporated.
Meanwhile, let's get started with our canning procedure. Sanitizing time!
Put your jars in a tall dutch oven so that the jars are submerged by about an inch.
Take some of the boiling water and pour over the top of the of the lids.
Now, scoop your jam evenly into the 6 jars.
Place inside the pressure cooker with about an inch of water.
Seal the cover of the pressure cooker and put over medium-low heat. Each pressure cooker is different, so read the directions carefully. You're going to cook it at 10 pounds of pressure for about an hour.
Now you're finally done. We warned you it was a long one!
Enjoy!
We had a little dinner party at our house a while back, and we tried a lot of new things. The first of which, was making our own beef stock. If you have the time, it's definitely the way to go. You can control the salt content and it's really not that difficult.
Here's what you need:
3 lb. beef bones
3 carrots, cut into 3" pieces
3 celery ribs, cut into 3" pieces
1 large onion, quartered
10 whole peppercorns
1 bay leaf
1/2 bunch parsley
12 cups water
Here's what you do:
Preheat your oven to 450 degrees.
Put your beef bones, carrots, celery and onion in a roasting pan.
Roast the bones for about 30 minutes. You'll know you're ready when they look like this:
Put all of that into a large dutch oven.
Pour about 1/2 cup of water into the bottom of the hot roasting pan.
Scrape off all the good bits of flavor from the bottom.
Pour that yummy goodness into the stock pot.
Add the parsley, bay leaf and pepper corns. You could also add some fresh thyme if you'd like.
Now cover with the rest of the water.
Bring that to a boil.
Let the stock boil for about 10 minutes, then reduce the heat to a simmer and cover. Leave the lid slightly off to allow some of the steam to escape.
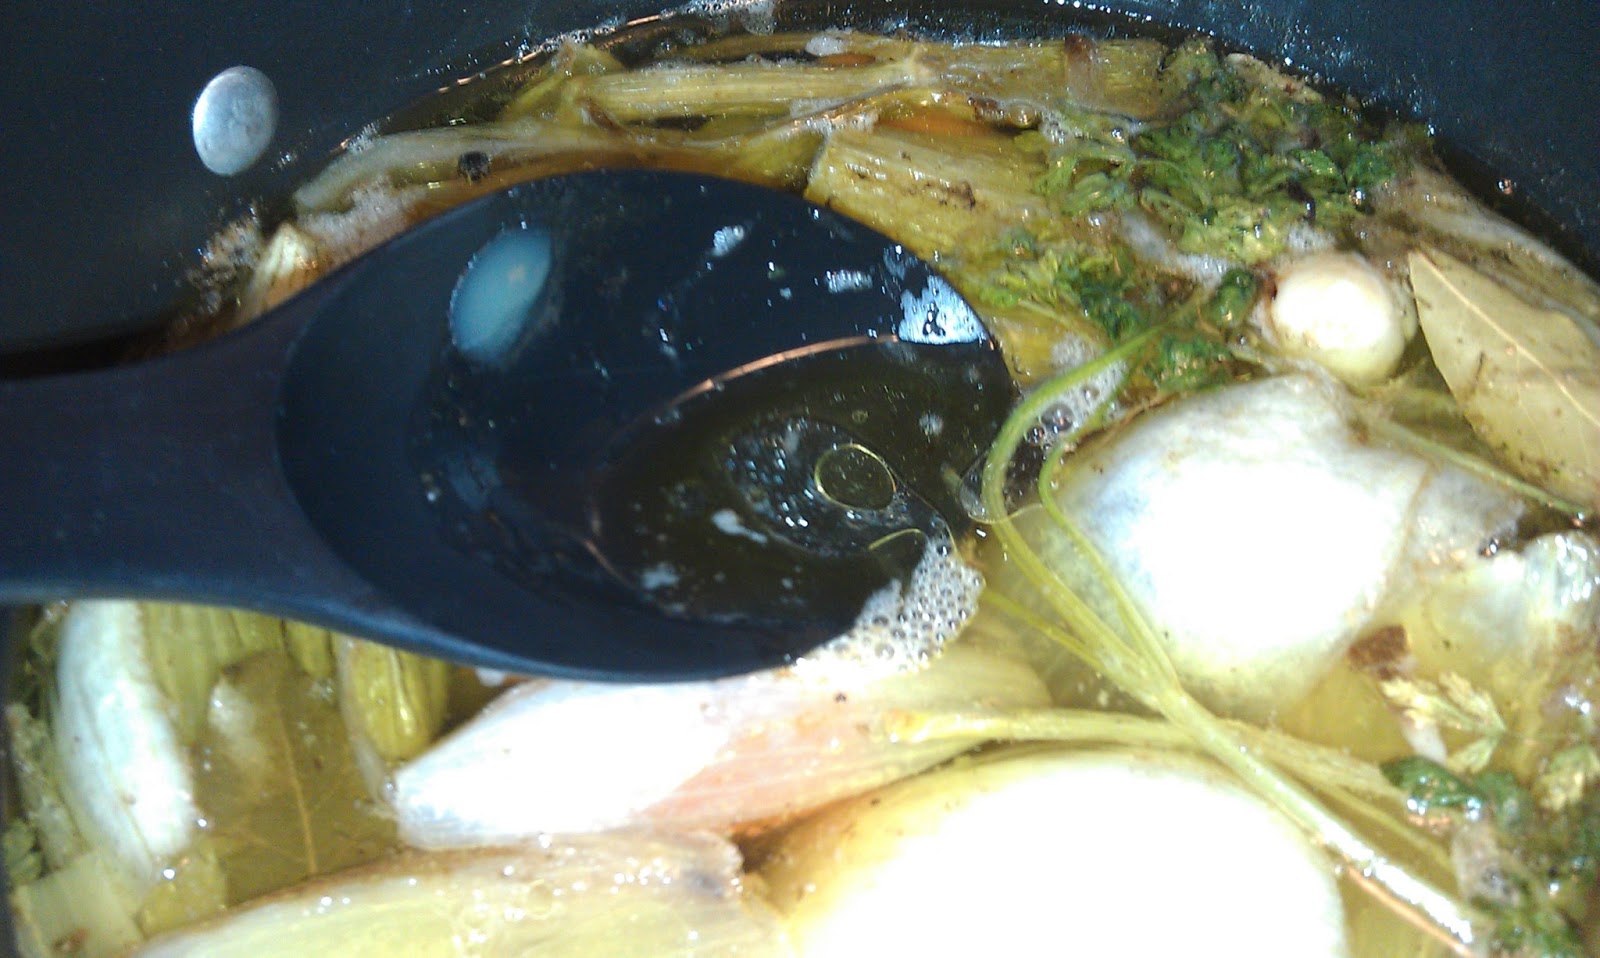
Let that simmer for at least two hours. Skim the fat off of the top of the stock every half hour or so. You're never going to be able to get all of the fat off, just get what you can. You can cool it down in the fridge and scoop the rest off later. Don't stir the stock though! Just let it simmer away.
Scoop out all of the large pieces from the stock until you just have the liquid. You can season the stock at this point with salt. Or, you can wait until you use the stock later to season. It's really up to you.
Strain the stock into containers for storage. You'll get a few little bits that you'll just want to discard.
At this point, we apparently got distracted and forgot the final picture. We don't have a good excuse.
Enjoy!
Ok, so this is by no means a traditional taco. It could also work as an enchilada. In fact, we used enchilada sauce in the filling. Well, whatever you call this, it tasted really great. You could use beef or turkey instead of venison if you want.
Here's what you need:
1 lb ground venison, beef or turkey
2 cloves garlic, minced
1 jalapeno
1 jar enchilada sauce (we actually made our own using tomato sauce, spices and chipotle in adobo)
4 cups cheddar jack cheese, shredded
1/4 cup sour cream
Garnish:
Chopped cilantro
Diced tomato
Sliced scallions
Sour cream
Here's what you do:
Preheat your oven to 350 degrees.
Start by browning your ground meat with the garlic.
Meanwhile, dice up your jalapeno.
Add the jalapeno and 3 cups of the shredded cheese to a large bowl.
Once your meat is browned, add that to the bowl as well.
Pour in the enchilada sauce.
Add the sour cream.
Stir the mixture together to combine everything.
Pour in a casserole dish and top with the last cup of cheese.
Bake for 20 minutes while the cheese melts thoroughly.
Serve on soft tortillas and garnish with cilantro, scallion, tomato and sour cream.
Enjoy!
Hi All! It's Michelle flying solo again on this post. Before I get started on the baking, let me start out by saying Happy Mother's Day to all you moms out there.
As I've said before, Zack's not much of a baker, so he didn't really have much to do with this pie besides eating it. I made a trip to the farmer's market and both the strawberries and rhubarb were too good to pass up.
As it turns out Strawberry Rhubarb pie is Zack's favorite fruit pie, which I didn't know before I decided to make it. It's funny how we're still learning things about each other after 5+ years.
Here's what you need:
1 basket strawberries (about 3 cups)
4 cups rhubarb
1 1/2 cups white sugar
1/4 cup Tapioca
Juice of 1/2 a lemon
3 Tbsp unsalted butter
2 pre-made pie crusts
Here's what you do:
Preheat your oven to 400 degrees.
Start by dicing up your rhubarb and slicing up the strawberries. Put them in a large bowl.
Add the tapioca.
Next, add the sugar.
And finally, squeeze in the lemon juice.
Give that all a good stir to combine everything.
Lay one of the pie crusts in your pie plate and place on top of a cookie sheet. The cookie sheet is simply there in case the filling boils over the side.
Pour in the filling.
Cut the butter up into 6 pieces and dot the top of the filling with it.
Cover with the top crust, pinching together with the bottom crust. Slit the top of the pie.
Bake for 10 minutes at 400 degrees, then drop the heat to 350 degrees and bake for an additional 35 minutes. If the edges start to brown too much, cover with foil.
Enjoy!